How to easily re-install Windows 10
By Jesper — April 26th, 2016
Ever wanted to re-install Windows 10? With our step-by-step guide we will explain you how to do this all by yourself. A Windows 10 (re)installation might be necessary when you’re experiencing booting errors or if you purchased a Ockel device without operating system. You’ll need a Windows PC with Internet connection, a USB Flash Drive with at least 8GB of free storage (and no other data on the flash drive) and a Sirius B connected with a keyboard and mouse in order to complete this guide.
The four steps you’ll have to take:
Step 1: Create a Bootable USB Flash Drive
Step 2: Boot your Ockel into UEFI-mode
Step 3: Install Windows 10
Step 4: Configure Windows 10
Step 1. Create a bootable USB Flash Drive
In order to create a bootable USB Flash Drive you’ll need a USB Flash Drive (also commonly knows as USB stick) with at least 8GB of free storage.
Please make sure to back-up all files before creating the bootable USB Flash Drive. All of the existing data on the USB Flash drive will be erased and can no longer be accessed after that.
Secondly, you need a PC running Windows 8.1 or higher to download the required files and create the bootable USB Flash Drive.
When you’ve backed-up the data of your USB Flash Drive and started your Windows PC, —you’re all set to create the bootable USB Flash Drive with the following steps:
Step 1. Open up your favorite browser (we recommend you to use Internet Explorer 10+)
Step 2. Type in the following URL: www.microsoft.com/software-download/windows10
Step 3. Scroll down until you notice the title: ‘Need to create a USB, DVD or ISO?’
Step 4. Click on the blue button ‘Download Tool now’’
Step 5. Your download will automatically begin
Step 6. When the download is finished, please open up the .exe or choose to ‘run’ the downloaded file
Step 7. The tool will need a few seconds to set things up. When finished initializing the following screen will pop-up:
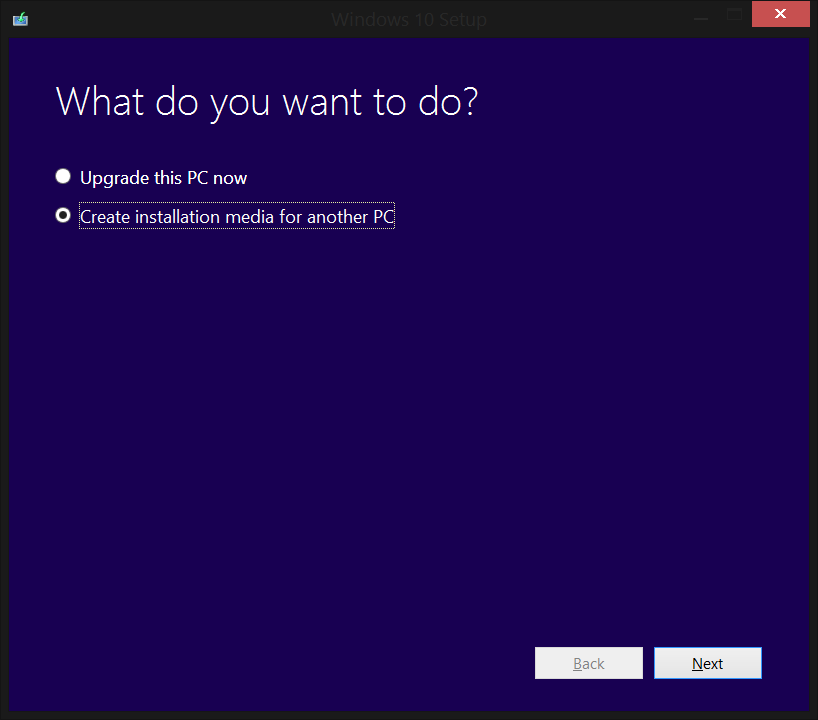
Step 8. Choose the option ‘’Create installation media for another PC’’ and click ‘Next’
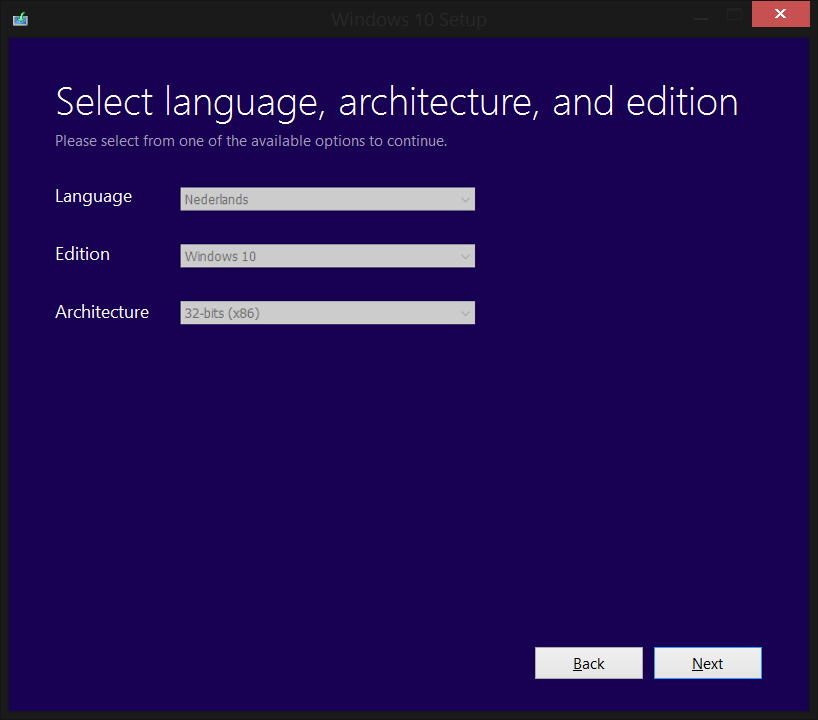
Step 9. Next you’ll need to select your language, architecture and edition. Please make sure to select your desired language, Windows 10 (or Windows 10 home) and the 32BIT architecture if you have a Sirius B (for Sirius B Black Cherry users we’d recommend to choose the 64BIT version) and click ‘Next.’
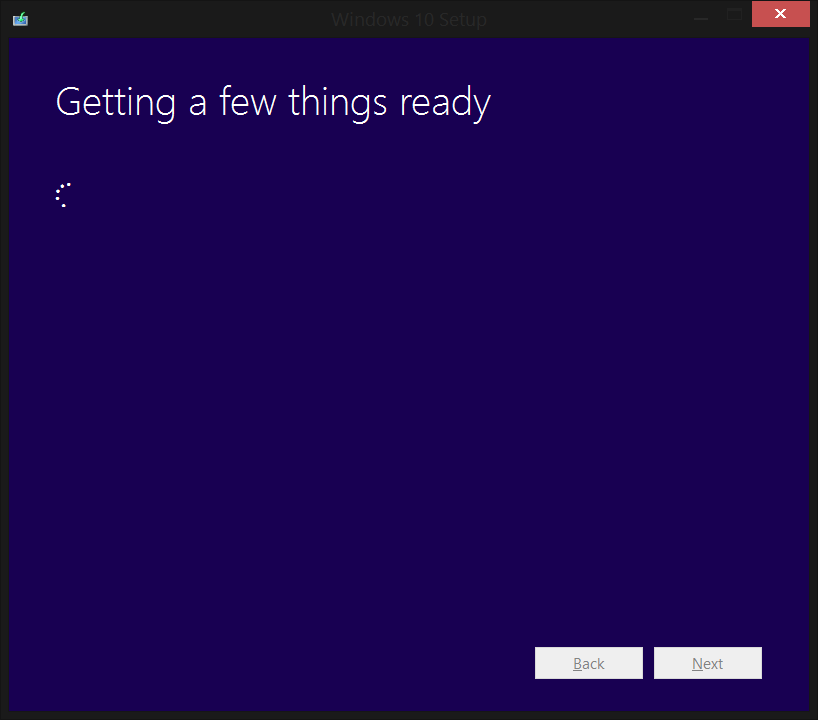
Step 10. The following screen will show up, this step may take a few minutes:
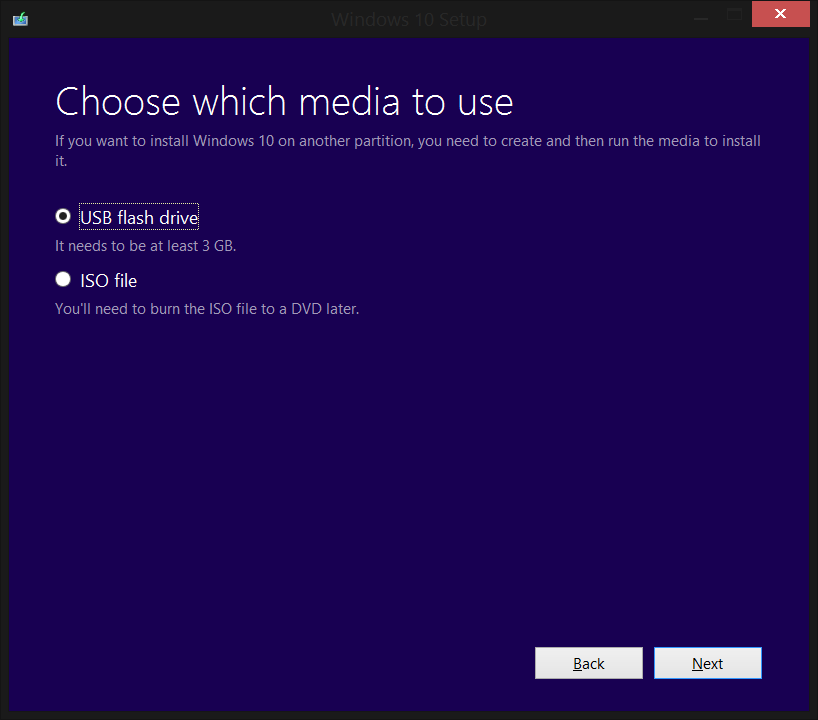
Step 11. Next you’ll have to choose which media to use. Please select the ‘’USB Flash Drive’’ option and click ‘Next’.
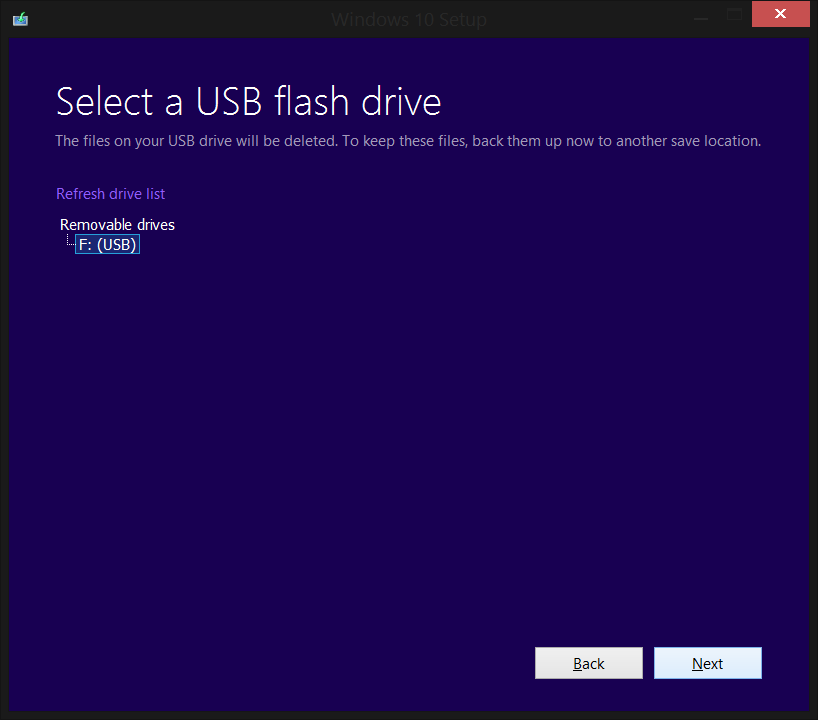
Step 12. Now you will have to select a USB Flash Drive. If you haven’t already plugged in a USB Flash Drive you should do by now. Once plugged in, select the option ‘Refresh drive list’ and select the USB Flash Drive you’d wish to install the Windows onto and click ‘Next’.
Please make sure to back-up all files stored on the USB Flash Drive before you click ‘Next. All of the existing data on the USB Flash drive will be erased once you complete this step.
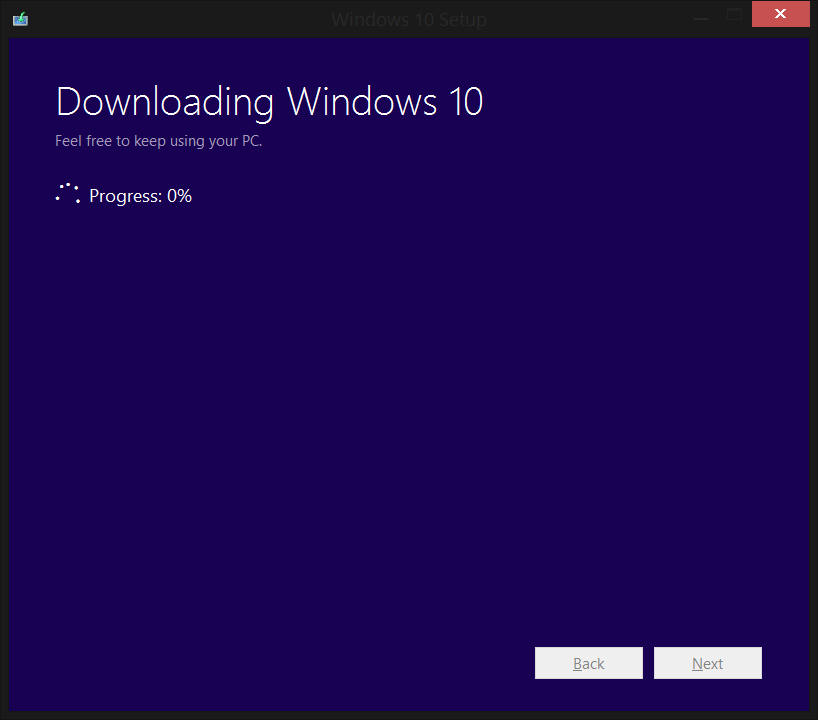
Step 13. Windows 10 will now be downloaded. Once downloaded the files are automatically installed on your USB Flash Drive. This may take up to two hours, depending on your Internet and USB Flash Drive speed. please do not turn off your PC during this process as this may cause errors.
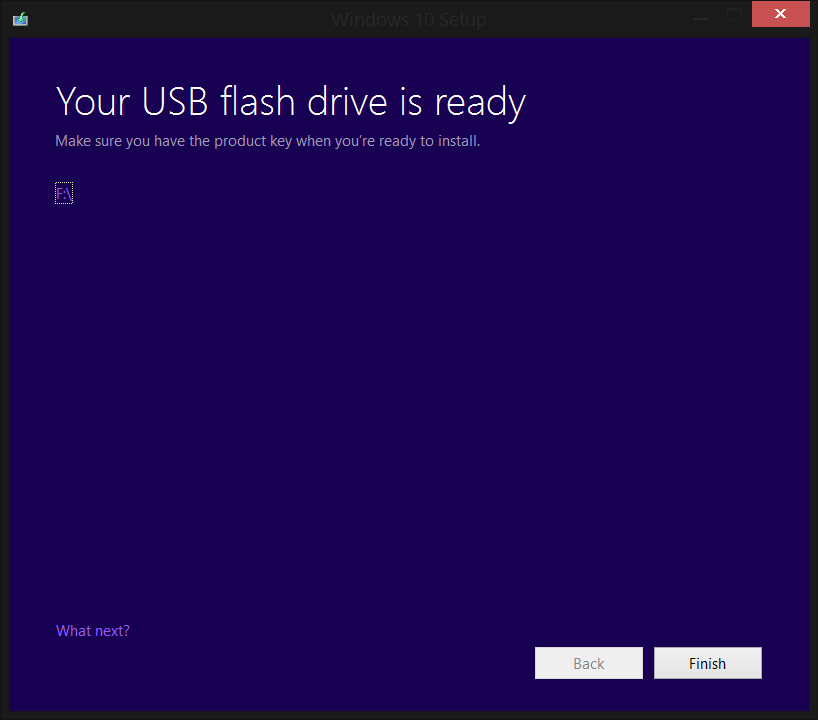
Step 14. Once the download and installation process is finished, you and your USB Flash Drive.
Step 2: Boot your Ockel into UEFI-mode
Your Ockel device has to know that you’re about to (re)install Windows. In this step we’ll explain you how you’re able to do this.
Step 1. Connect your Ockel device to a screen and power outlet
Step 2. Connect a USB keyboard to your Ockel device
Step 3. Connect the Bootable USB Flash Drive you’ve created in step 2 of this How-to to your Ockel device.
Step 4. Press the power-on button of your Ockel device and immediately and repeatedly press the ‘F7’ function key on your USB keyboard
Step 5. The following screen will show up:
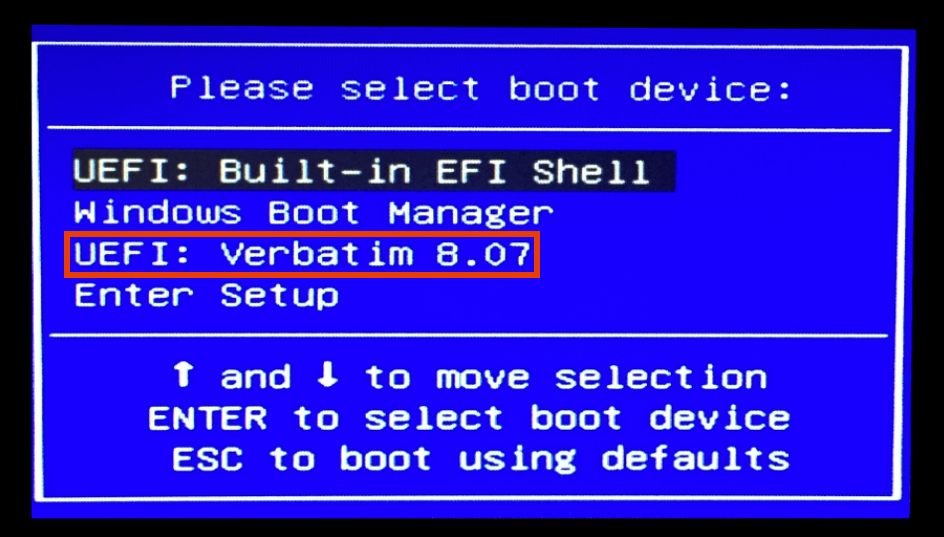
Step 6. Use the arrow keys on your keyboard to navigate through the menu
Step 7. Select the UEFI: <Flash Drive Name> (in our case: Verbatim) line and press enter
Step 3: Install Windows 10
You’re now ready to install Windows 10 onto your Ockel device. The following steps help you decide which options you should choose during the installation process.
Please note the installation may take up to one hour to complete. Make sure your Ockel device, USB Flash drive and monitor are connected correctly during the entire installation and do not power off or disconnect your Ockel device.
Step 1. After selecting the right UEFI-line in the boot menu it will take a few seconds for the following screen to show up:
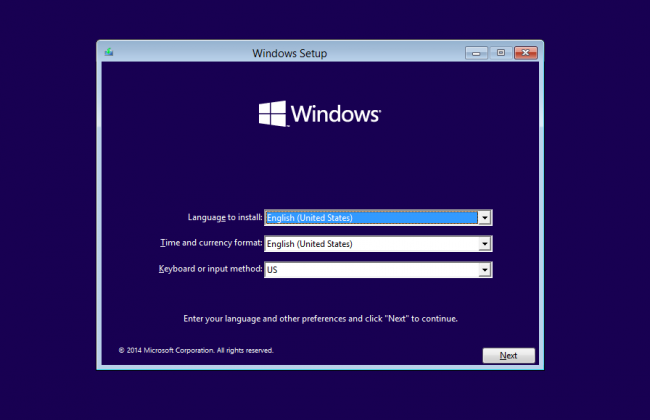
Step 2. Select the desired Language to install, your Timezone and Keyboard input method
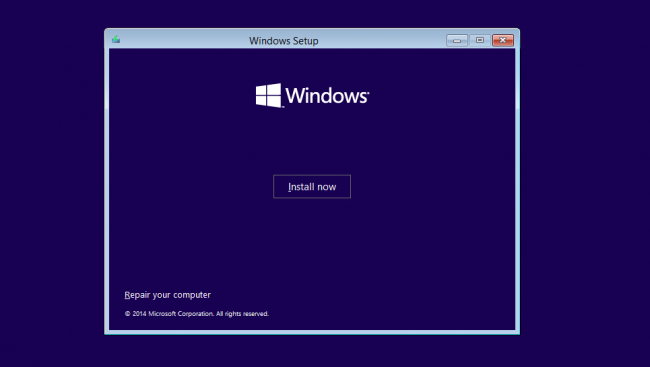
Step 3. The next window will show up, click on the ‘’Install now’’ button in order to proceed with the installation
Step 4. In this step you’ll have to choose between ‘Upgrade’ and ‘Custom’ installation. Choose the ‘Upgrade’ option for your License key to stay valid. If you have purchased a Ockel without a license key, you may choose the ‘Custom’ option instead
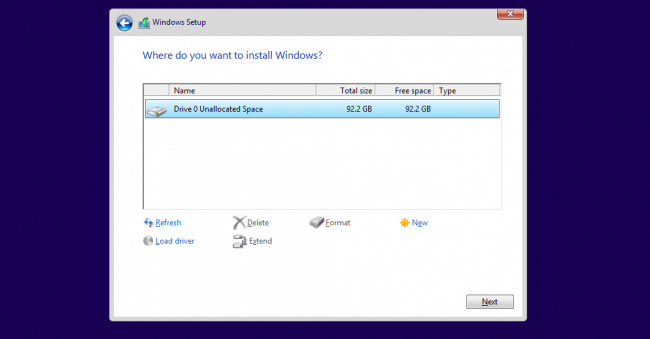
Step 5. Select the partition (in this case Drive 0) you want to install Windows on and click ‘Next’
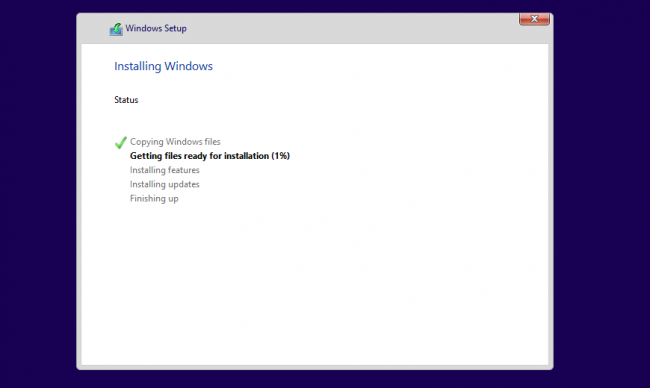
Step 6. The installation of Windows will now begin. This may take up to a hour to finish. Once finished you’re ready for the final step, configuring Windows.
Step 4: Configure Windows 10
Once the installation is finished you may configure Windows. We’ll explain the most important steps you’ll have to take in order to configure Windows 10 the right way.
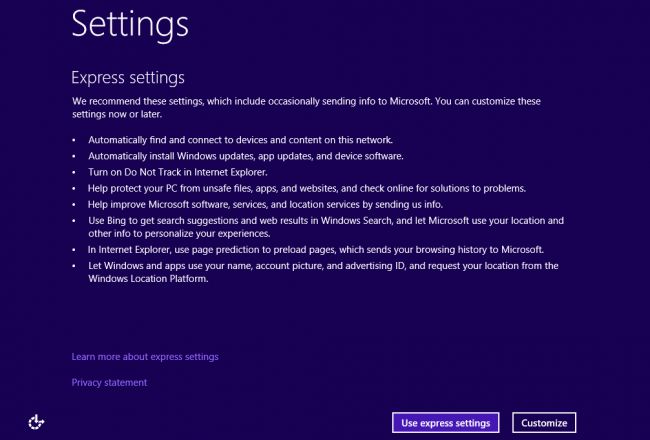
Step 1. The first configuration screen you’ll notice is the ‘Settings’ screen. Choose the ‘Express settings’ option if you do not want to change any pre-configured settings. If you do want to change the pre-configured settings, choose the option ‘’Customize’’
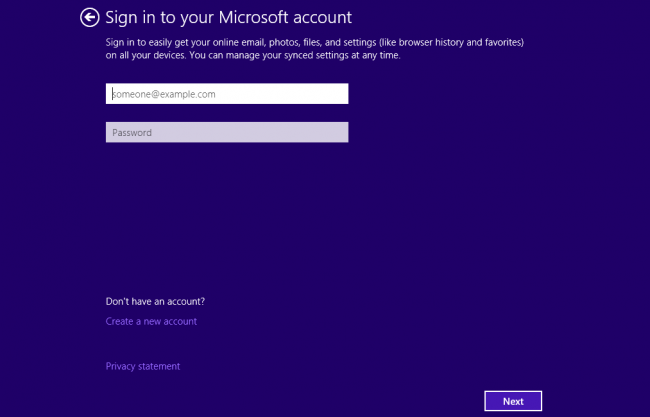
Step 2. Microsoft will ask you to sign in to your Microsoft account. You can enter your account credentials and click ‘Next’. If you do not have an account yet, you may create one by clicking the option ‘’Create a new account’’. If you wish to skip this step, simply click ‘Next’.
Step 3. You’re all set! Windows will download and install the latest standard applications. Once finished downloading and installing, you’ll reach your desktop screen.

Step 4. For the latest drivers you may visit our support center. We have a driver download section, please download the most recent driver package available for your device. And of course make sure to use the God Mode.
Tip: Have you heard about how to back-up your files easily?
Let us hear what you think about the Windows reinstallation process in the comments!
Categories
Recent posts
- Monthly Update - January 2020
- SCAM WARNING: Fraud Websites Are Misusing Ockel Sirius A
- Monthly Update - December 2019
- Monthly Update - October 2019
- 6 Benefits of VPN for Ockel Sirius A Users
- Monthly Update - September 2019
- Monthly Update - August 2019
- Monthly Update - July 2019
- Monthly Update - June 2019
- Monthly Update - May 2019